Picture this: you’re out on the water, the sun warming your back, and you’re casting a lure you crafted with your own hands. There’s a certain magic in homemade fishing lures—a mix of creativity and skill that turns an ordinary fishing trip into a personal victory. Not only are these DIY lures a cost-effective alternative to store-bought options, but they also bring the unique thrill of catching fish with something you’ve created. Ever wondered how to start? This guide will walk you through every step, from choosing materials to adding your personal touch. Ready to dive in?
Why You Should Consider Making Your Own Fishing Lures
Crafting your own fishing lures isn’t just a pastime; it’s a gateway to a more personalized and cost-effective fishing experience. From saving money to creating unique designs, homemade fishing lures offer a range of benefits that can enhance your time on the water.
The Benefits of Homemade Fishing Lures
Cost-Effectiveness
Imagine this: you’re knee-deep in your tackle box, surrounded by lures you’ve crafted yourself. Each one is a testament to your ingenuity and thriftiness. While the initial investment might seem daunting, the payoff is in the numbers. Crafting multiple lures from leftover materials slashes costs, making each creation a fraction of the price you’d pay at a store. Plus, without the retail markup, you’re getting top-notch quality for less. It’s a savvy angler’s dream come true.
Customization and Personalization
Ever wished you could tweak a lure to match the exact hue of the minnows darting through your local waters? With homemade fishing lures, you can. Tailor each piece to the specific conditions you face, from water clarity to local prey species. Experiment with colors, patterns, and materials to create that perfect match. And let’s be honest, there’s something thrilling about using a lure that’s one-of-a-kind, giving you an edge over the fish and other anglers.
Satisfaction and Fulfillment
There’s a special kind of joy in feeling the tug of a fish on a lure you crafted with your own hands. It’s a connection to the sport that goes beyond the catch. Making your own lures is not just about fishing; it’s about creating, sharing, and bonding. Involve your family, especially the kids, and watch as it becomes a cherished hobby. The memories made are as valuable as the fish caught, adding layers of satisfaction that store-bought lures simply can’t provide.
Getting Started: Materials and Tools for Making Fishing Lures
Creating homemade fishing lures is a rewarding journey that combines creativity with practicality. Whether you’re a seasoned angler or just dipping your toes into the world of DIY fishing gear, understanding the essential materials and tools is the first step to crafting lures that are both effective and beautiful.
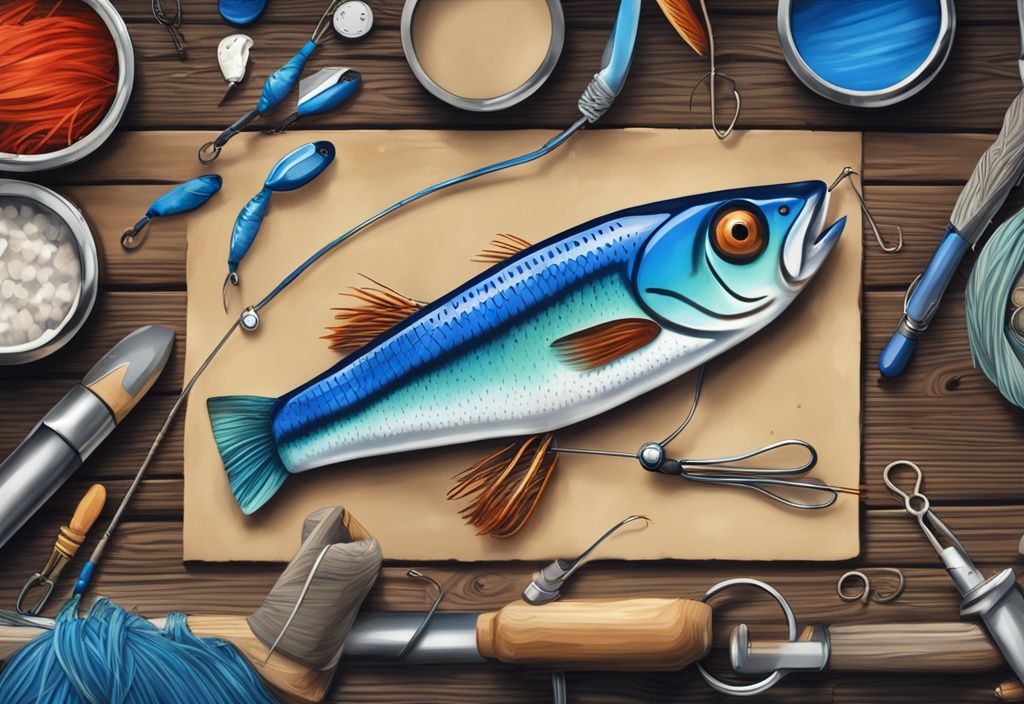
Essential Materials for DIY Fishing Lures
Hooks, Feathers, and Beads
Ah, the trifecta of lure-making! Hooks, feathers, and beads are the unsung heroes of homemade fishing lures. Imagine the shimmer of beads catching the sunlight, or feathers fluttering like a minnow’s tail—these elements are not just about looks. They mimic prey movements, making your lure irresistible to fish. Choosing the right hook is like picking the perfect dance partner; it needs to match your target fish and lure design. Get this right, and you’re on your way to crafting a lure that’s as effective as it is eye-catching.
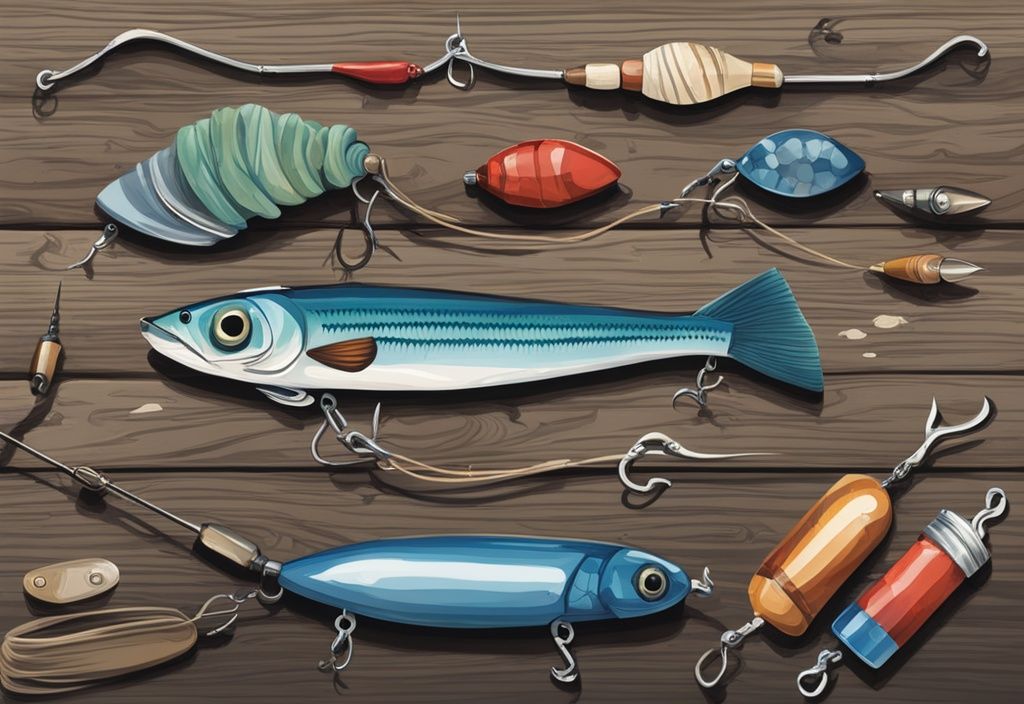
Balsa Wood and Epoxy
If you’re aiming for lightweight and buoyant, balsa wood is your best friend. Picture carving a sleek minnow from a block of balsa, then sealing it with epoxy for durability. This combo ensures your lure can withstand the elements, offering longevity and performance. It’s like building a tiny boat that dances through the water, enticing fish with every move. With balsa and epoxy, your homemade fishing lures will be ready to tackle any fishing condition.
Paints and Finishing Coats
Let’s talk about the finishing touches that turn a good lure into a great one. Using acrylic paints with an airbrush, you can create vibrant designs that mimic local prey. It’s like painting a masterpiece on a tiny canvas. To protect your artwork and add a touch of realism, apply a finishing coat like nitrocellulose lacquer. Throw in some reflective tape or foil for a scale-like effect, and you’ve got a lure that’s not just pretty but also a fish magnet.
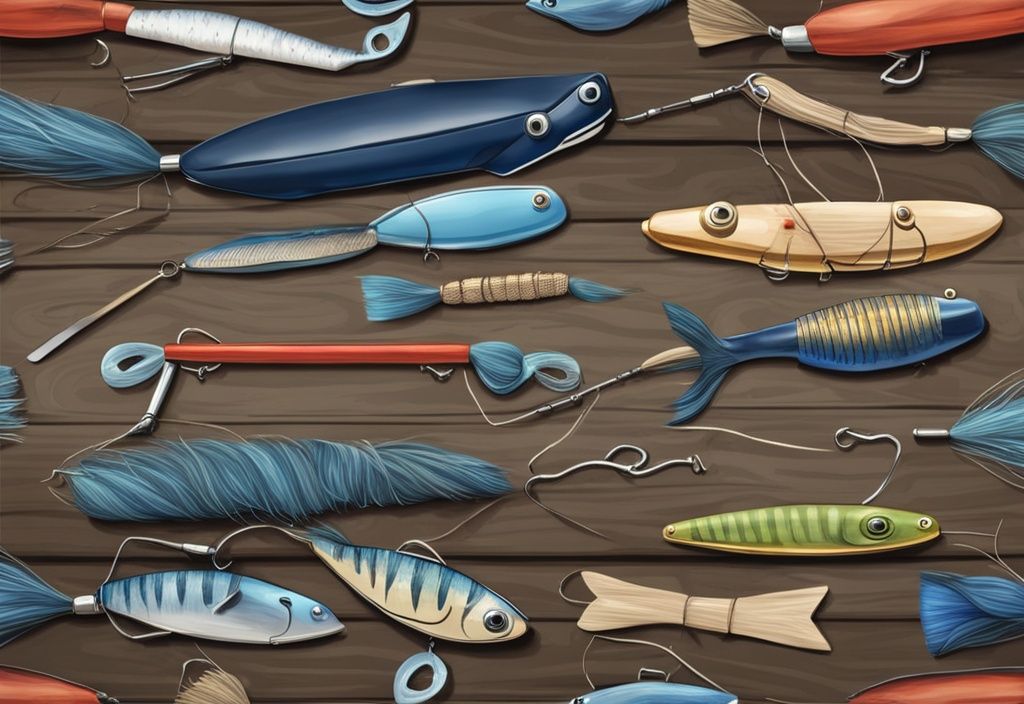
Must-Have Tools for Lure Making
Craft Knife and Pliers
Precision is key in lure-making, and that’s where a craft knife and pliers come into play. A craft knife lets you carve and shape with the finesse of a sculptor, while pliers are your trusty sidekick for bending wire and securing components. It’s like having a mini workshop in your tackle box. With these tools, your homemade fishing lures will be crafted to perfection, ready to take on any fishing adventure.
Airbrush and Sandpaper
For that professional finish, an airbrush and sandpaper are indispensable. An airbrush lets you apply paint smoothly, creating intricate designs that mimic the natural allure of prey. Sandpaper preps the surface, ensuring your paint job is flawless. It’s the difference between a lure that looks homemade and one that looks like it came from a pro shop. With these tools, your lures will not only look great but perform brilliantly in the water.
How to Make Your Own Fishing Lures: A Step-by-Step Guide
Crafting your own fishing lures is not just about saving money—it’s about creating something unique that reflects your style and understanding of the water. This guide will walk you through the process, from designing to testing, ensuring your homemade fishing lures are as effective as they are personal.
Designing Your Lure
Creating a homemade fishing lure starts with a spark of creativity and a dash of practicality. Picture this: You’re sketching out a design, pencil in hand, the shape and size of your lure coming to life on paper. It’s a thrilling moment, setting the stage for your entire crafting adventure. Think about the fish you’re targeting and the waters you’ll be casting into—freshwater or saltwater? This is your chance to adapt proven designs to your needs. Dive into YouTube tutorials and fishing forums for inspiration. What works best for your fishing conditions and target species? It’s all about crafting a lure that’s both effective and uniquely yours.
Cutting and Shaping the Lure Body
With your design ready, it’s time to roll up your sleeves and bring it to life. Balsa wood is a favorite for its lightweight and buoyant nature, but hey, the choice is yours. Carefully carve out the lure body with a craft knife, each cut precise and deliberate. Sandpaper becomes your best friend here, smoothing out edges and refining the shape. You’re aiming for a balance of hydrodynamics and aesthetics. Don’t forget to carve out cavities for weights—these will help your lure mimic the natural motion of prey, making it irresistible to fish.
Assembling the Lure
Now, let’s put it all together. Glue the lure halves with epoxy or superglue, ensuring a bond that’s as strong as your passion for fishing. Insert weights and a through-wire structure for strength and balance. Attach hooks and other components with care, securing them firmly. You want your lure to withstand the thrill of a catch without falling apart. It’s all about reliability and performance when you’re out on the water.

Adding the Finishing Touches
This is where your lure gets its personality. Apply multiple coats of lacquer to seal and protect it, enhancing durability and shine. An airbrush lets you paint intricate patterns and colors, mimicking local prey species. Attach 3-D eyes and add details like reflective tape or foil. These little touches make your lure more enticing, increasing your chances of a successful catch.
Testing Your Homemade Lure in Water
Before your lure hits the open water, give it a test run in a controlled environment. Watch its movement and buoyancy, making tweaks to perfect its swimming action. Each fishing trip offers feedback, helping you refine future designs. It’s a rewarding process, catching fish with something you’ve created. Plus, it’s a great story to share with fellow anglers.
Expert Tips for Making Successful Homemade Fishing Lures
Creating homemade fishing lures is a rewarding endeavor that combines creativity with practicality. From selecting the right materials to customizing colors and optimizing movement, each step is an opportunity to craft lures that not only catch fish but also tell a story of your own fishing adventures. Dive into the following tips to enhance your lure-making skills and increase your chances of a successful catch.
Choosing the Right Materials
Ah, the art of choosing materials! It’s like picking the right bait for a lazy afternoon on the lake. When you’re crafting homemade fishing lures, think about the fish species you’re after and the water conditions. Understanding what eats a fish can also help you design more effective lures. Heavier materials can be your best friend in deeper waters, while lighter ones dance beautifully on the surface. Durability is key, too—your lures need to withstand the rigors of fishing. And let’s not forget about visual appeal. Colors and textures that mimic local prey can make all the difference. Experimentation is your ally here; mix and match until you find the perfect combo for your fishing escapades.
Customizing Colors and Patterns
Now, let’s talk about adding a splash of color to your homemade fishing lures. This is where your inner artist gets to shine! Use paints, markers, and reflective materials to create designs that pop in the water. Matching these colors and patterns to local fish species and their prey can be a game-changer. A little testing in your fishing spot can reveal what catches the eye of your finned friends. This trial and error not only refines your designs but also gives you insight into the fish’s preferences. It’s a colorful journey of discovery!
Optimizing Buoyancy and Movement
Buoyancy and movement—two elements that can make or break your homemade fishing lures. Adjust weights and materials to achieve that perfect swimming action. Testing your lures in water is essential. Watch how they move and mimic prey behavior. These observations guide you in fine-tuning your designs. It’s an iterative process, but one that pays off when your lure performs exceptionally well. The thrill of seeing a fish take the bait is unmatched. So, keep tweaking and testing until your lures are as irresistible as a free lunch to a hungry fish!
Safety Precautions in DIY Lure Making
Crafting homemade fishing lures is a rewarding endeavor, but it’s crucial to prioritize safety. From handling sharp tools to choosing non-toxic materials, every step requires careful consideration to ensure a safe and enjoyable experience.
Handling Sharp Tools and Hooks Safely
When you’re in the zone, crafting your own homemade fishing lures, it’s easy to get caught up in the excitement. But remember, safety is your best fishing buddy. Picture this: you’re in your workshop, the scent of fresh wood shavings in the air, tools gleaming under the light. Now, imagine a slip of the hand—ouch! That’s why protective gear like gloves and goggles are non-negotiable. They’re your armor against those pesky nicks and cuts.
Keeping your workspace organized is like keeping your tackle box neat. It prevents accidents and makes your crafting smoother than a calm lake at dawn. Hooks, especially, demand respect. Handle them with care to avoid any impromptu piercings. So, next time you’re crafting, ask yourself, “Am I set up for safety?” With these precautions, you’ll enjoy the lure-making process without a hitch.
Avoiding Toxic Materials
Choosing the right materials is like picking the perfect bait—essential for success. When it comes to homemade fishing lures, non-toxic paints and finishes are your best friends. They keep you and Mother Nature happy. Imagine working in a well-ventilated space, the breeze gently carrying away any fumes. It’s not just about comfort; it’s about avoiding those nasty health risks.
And let’s not forget about waste disposal. Think of it as catch and release for your crafting materials. Opt for eco-friendly choices and dispose of waste responsibly. This way, you’re not just crafting lures; you’re crafting a better world. So, next time you’re at your workbench, ponder, “Am I being eco-conscious?” With these steps, you’re not only making lures but also making a difference.
FAQs about Homemade Fishing Lures
What are the best materials for making homemade fishing lures?
Imagine crafting your own lure with balsa wood, a material so light it dances on water, or using epoxy for that perfect, durable finish. Acrylic paints splash vibrant life onto your creation, while sharp hooks ensure a solid catch. Add a touch of flair with feathers, beads, or reflective tape, and you’ve got a lure that’s as enticing as a wriggling worm on a sunny day. Choose your materials wisely, considering the fish you’re after and the waters you’ll explore.
How can I ensure my homemade lures are effective?
Testing is key! Toss your lure into the water and watch its dance. Does it mimic the local prey? If not, tweak the colors and patterns until it does. It’s like painting a masterpiece—sometimes it takes a few strokes to get it right. Keep refining your designs based on what the fish are biting. After all, isn’t the thrill of the catch worth a little trial and error?
Are homemade fishing lures more cost-effective than store-bought ones?
Homemade lures can indeed be kinder to your wallet. Sure, the initial setup might pinch a bit, but once you’re in the groove, making lures becomes as economical as a well-timed cast. Plus, there’s a satisfaction in crafting something uniquely yours—something that store-bought options often lack. It’s not just about saving money; it’s about creating a lure that tells a story.
What safety measures should I take when making fishing lures?
Safety first, always! Gear up with protective equipment and handle those tools and hooks with the precision of a surgeon. Steer clear of toxic materials and ensure your workspace is as fresh as a morning breeze. An organized space reduces mishaps, letting you focus on the joy of creation. Remember, a safe angler is a happy angler!
Conclusion
Crafting homemade fishing lures isn’t just a hobby; it’s a journey that adds a new dimension to your fishing adventures. Imagine the thrill of designing your own lures to match the fish in your local waters. It’s like creating a secret weapon tailored just for you. The beauty of homemade lures lies in their customization. You can tweak every detail to suit the water conditions and the fish you’re after, increasing your chances of a successful catch.
There’s a special kind of satisfaction in reeling in a fish with a lure you’ve crafted yourself. It turns fishing into an art form, where each catch is a testament to your creativity and skill. The process of designing, assembling, and testing your lures is a rewarding challenge that keeps the hobby exciting and fresh.
With the right materials and a bit of patience, anyone can dive into this creative endeavor. Whether you’re a seasoned angler looking to refine your gear or a beginner eager to try something new, homemade fishing lures open up a world of possibilities. So why not take the plunge? Discover the joy of crafting unique, effective lures that enhance your fishing experiences.