Ever dreamt of creating your own fishing lures? Harnessing your creativity to not just catch more fish but outsmart ’em too? Well, that’s exactly what we’re discussing today! Being an angler for over two decades, I know just how rewarding crafting personalized lures can be.
In this post, you’ll learn all about making effective, durable lures from scratch. From choosing the right materials to perfecting your lure’s action, we’ve got it all covered! I’ll share my tried-and-true techniques and nuggets of wisdom, enabling you to cater to specific fish species or your local conditions.
Why shell out big bucks on commercial gear when you can create your own? Let’s dive in and start crafting those irresistible baits together, elevating our shared passion for fishing. Come on, let’s reel in those fishes with something you’ve made from your own hands!
Introduction
Crafting fishing lures can be an immensely enjoyable and fulfilling hobby for anglers of all skill levels. This hands-on activity not only enhances your overall fishing experience but also allows you to exercise your creativity and customize lures to match specific fishing conditions. When learning how to make fishing lures, you’ll discover a myriad of options to tailor your creations, making them more effective for the particular species you’re targeting and the local water conditions you face.
Moreover, crafting your own fishing lures can lead to significant cost savings over time. By creating durable lures that withstand wear and tear, you can avoid the continuous expenses associated with purchasing commercial products. The personal touch added to each lure often results in higher satisfaction, as there’s a unique joy in catching fish with gear you’ve made yourself.
Engaging in this craft also offers an excellent way to recycle and repurpose materials, encouraging sustainable practices in your fishing adventures. Whether you’re using old hooks, feathers, or bits of metal, repurposing these components into new, functional lures contributes to a more eco-friendly hobby. Additionally, you’ll enhance your skills in both crafting and understanding fish behavior, knowledge that is invaluable whether you fish recreationally or competitively.
In summary, mastering how to make fishing lures opens up a world of creative opportunities and practical benefits. This skill not only deepens your connection to the sport but also enriches your angling toolbox with unique, customized gear perfectly suited to your fishing needs.
Benefits of Crafting Your Own Fishing Lures
Crafting your own fishing lures offers numerous benefits that extend beyond the simple act of fishing. Here, we unravel the key advantages that make this hobby both practical and enjoyable.
Customization for Specific Species and Local Conditions
One of the standout benefits of learning how to make fishing lures is the ability to tailor them for specific fish species and local fishing conditions. Commercial lures might cover general needs, but homemade ones can be fine-tuned to mimic the prey in your local waters. Imagine molding a lure that exactly mimics the flicker of a minnow in your favorite fishing spot—hard to beat, right? This targeted approach can greatly boost your chances of a successful catch.
Potential Cost Savings on Buying Commercial Lures
Initially, you might need to invest in some tools and materials to get started, but the long-term savings are well worth it. High-quality commercial lures can be quite pricey. By crafting your own, you cut down on the need to constantly purchase new lures, ultimately saving a good chunk of change over time.
The Personal Satisfaction and Accomplishment
There’s an indescribable joy in catching a fish with a lure you’ve crafted yourself. It’s not just about landing that fish; it’s about all the time and effort you’ve put into understanding how to make fishing lures that work. It adds an entirely new layer to your fishing expedition, transforming a simple trip into a deeply satisfying experience.
Opportunity to Recycle and Repurpose Materials
Creating your own fishing lures also provides a fantastic opportunity to recycle and repurpose materials. Old metal parts, plastic scraps, or even pieces from broken lures can find a new life in your tackle box. This not only helps in reducing waste but also encourages creativity as you experiment with various materials.
Learning and Enhancing Skills
Engaging in the process of making your own lures helps you enhance your crafting skills and deepen your understanding of fish behavior. You’ll dive into the nuances of different materials, tools, and techniques, making you a more effective angler. This hands-on experience offers invaluable insights into what makes a lure irresistible to fish, providing endless opportunities for learning and improvement.
So, why not grab some materials and get started on crafting your own lures? You never know, the next lure you make might just be the key to your next big catch.
Overview of Different Fishing Lures
Understanding the various types of fishing lures is crucial for any angler. Each type of lure offers unique advantages and characteristics, making them suitable for targeting different species and adapting to varying fishing conditions. Let’s dive into the fascinating world of fishing lures.
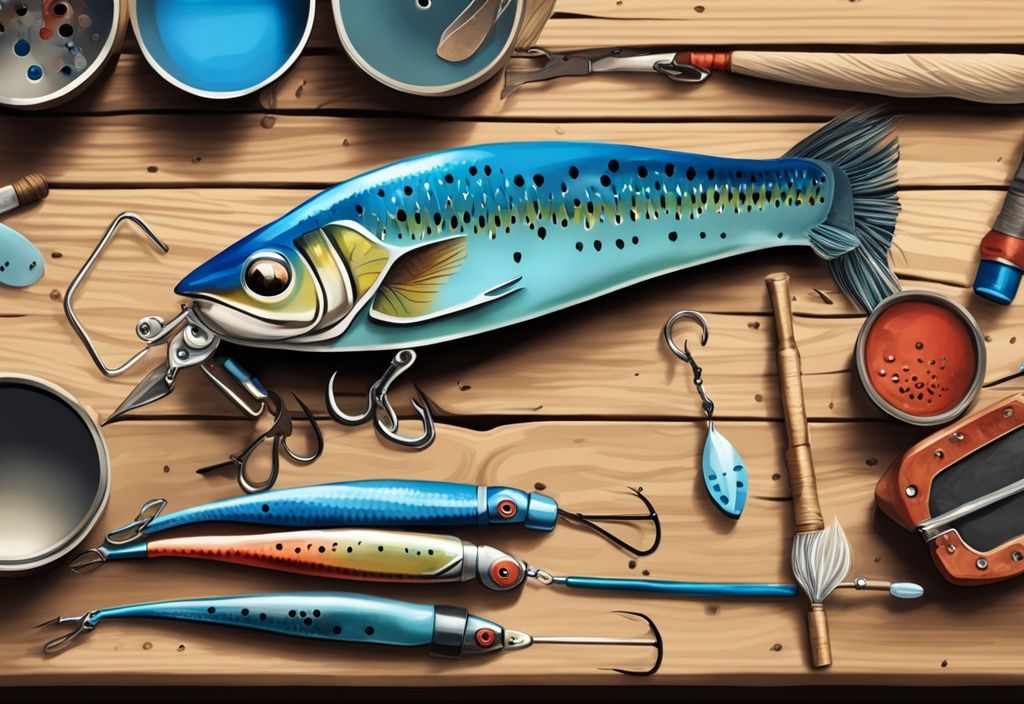
Plugs
Plugs, also known as crankbaits, are typically crafted from wood or plastic, meticulously designed to mimic injured baitfish or frogs. They come in various forms—floating, sinking, and diving—enabling you to target fish at different water depths. Often, plugs feature a protruding lip, providing an enticing wobbling or diving action when retrieved. Learning how to make fishing lures like plugs involves understanding these variations and their specific actions.
Crafting a plug requires precise shaping, painting for a realistic appearance, and balancing to ensure the desired movement in water. It’s all about getting that perfect wiggle!
Spinners
Spinners are a straightforward yet highly effective type of lure. They consist of a metal blade that spins around a straight wire shaft. This spinning blade reflects light and produces vibrations, attracting predatory fish like pike and bass from a distance. When learning how to make fishing lures such as spinners, you’ll find they require minimal materials.
Typically, construction involves threading beads and a clevis onto the wire shaft, attaching the blade, and completing the lure with a hook. The simplicity in their design makes spinners an excellent starting point for those new to lure crafting.
Spoons
Spoons derive their name from their spoon-like shape, characterized by a noticeable curve. Crafted from flattened metal pieces, they wobble enticingly through the water, simulating the movements of small prey fish. Their effectiveness spans various species and environments, especially in deep waters.
When learning how to make fishing lures like spoons, precise shaping and polishing for a shiny, reflective finish are key. The attractive action combined with flashing light makes them irresistible to fish.
Soft Plastic Baits
Soft plastic baits are highly versatile, made from flexible, soft plastics designed to resemble worms, minnows, and other forms of bait. One highlight of learning how to make fishing lures like soft plastics is their customizability.
Colors, scents, and even glitter can be added to the liquid plastic before it’s poured into molds of various shapes and sizes. This level of personalization ensures the bait matches specific fishing conditions and target species. Mastery in soft plastic lure creation involves experimenting with different molds and additives.
Jigs
Jigs feature a weighted head molded onto a hook, often adorned with a body crafted from soft plastic or feathers. Their design makes them effective in varying fishing conditions and depths. Learning how to make fishing lures such as jigs involves affixing the hook securely to the weighted head and adding the body material.
Ensuring correct weight distribution and buoyancy is crucial, as jigs need to maintain an enticing action even in challenging water currents.
Flies
Flies are a staple in fly fishing, designed to closely mimic insects, baitfish, and crustaceans. The art of learning how to make fishing lures like flies lies in the precision and patience required.
Tied using hooks, feathers, fur, and various synthetic materials, the process demands dexterity and an eye for detail to create lifelike representations that can fool fish into biting. The meticulous craft of fly tying includes creating different types of flies such as dry flies, wet flies, nymphs, and streamers, each suited to particular fishing scenarios and fish behavior.
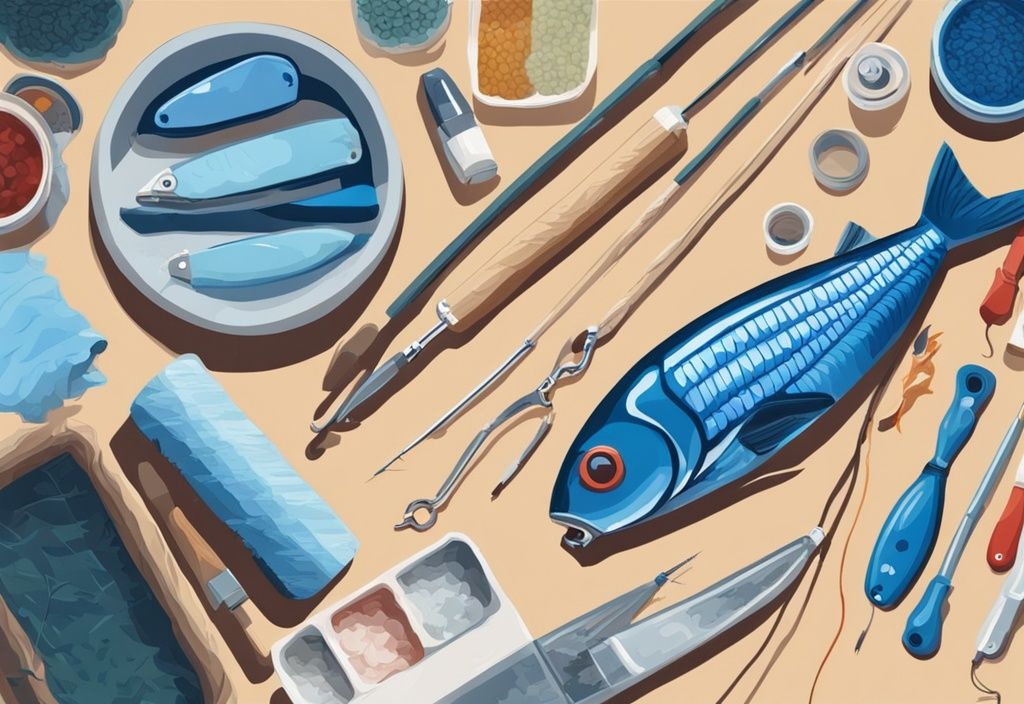
Materials and Tools Required
Diving into the world of how to make fishing lures requires gathering the right materials and tools. Whether you’re fashioning a flashy spinner or a lifelike fly, having everything you need on hand can make the process smooth and enjoyable. Let’s unpack Jake Marlin’s essential lists to get you started.
Essential Materials
To create those fish magnets, you’ll need a well-rounded set of materials. Here’s a detailed rundown:
- Hooks: Grab a variety of sizes to match different lure types and your target species. Strong and durable hooks are non-negotiable.
- Beads: Small but mighty, these add noise and extra attraction to your lures.
- Feathers: Give your lures an edge with lifelike movement and texture. Perfect for tying flies.
- Paint: Use acrylic airbrush paint for vibrant colors and intricate patterns that catch the eye.
- Resin: Coats and seals your masterpieces, protecting them from water damage and extending their life.
- Molds: Essential for shaping those soft plastic baits into various enticing forms.
- Balsa Sheets: Lightweight and easy to shape, making them perfect for creating plug and jig bodies.
- Aluminum Tape: Reflective and flexible, ideal for adding shine and flash.
- Water-Resistant Superglue: Keeps your lure parts together, no matter the wet conditions.
- Steel Wire (0.7-mm): The backbone of many lures, crucial for creating spinners and wire-based designs.
- Nitrocellulose Lacquer: Adds a hard, durable finish that keeps your paint job intact.
- Glass Fiber Board: Provides extra strength and durability for robust lures.
- Split Shot Weights: Balances your lures perfectly to ensure they swim just right.
- 3-D Lure Eyes: Because even fish are attracted to realism. Give your lures a lifelike glance.
- Cellophane for Stencils: Helps create consistent designs and patterns on your lures.
- Small Split Rings: Securely connect hooks and components to the lure body.
- Barbless Single Hooks: A safer and often more humane option for catch and release.
- Poplar Boards: Another great wood option for crafting sturdy lures that endure the elements.
- Lead Sinkers: Custom weight your lures for optimal underwater performance.
Required Tools
For any angler keen on mastering how to make fishing lures, a trusty set of tools is vital. Let’s break it down:
- Vise: Keeps your materials stable so you can work with precision.
- Craft Knife: Key for detailed cutting and shaping of your lure bodies.
- Bobbin: Holds thread taut for fly tying, ensuring consistent tension.
- Whip Finisher: Secures the thread on flies with a professional touch.
- Scissors: Essential for trimming feathers, threads, and other materials.
- Pliers: A go-to for gripping, bending, and cutting wire and other materials.
- Wire-Cutting/Bending Pliers: Perfectly designed for crafting spinners and other wire-based lures.
- Cardboard Box for Drying: Simple yet effective for drying painted and sealed lures without smudges.
- Pen: For marking cutting lines and patterns effortlessly.
- Threaded Rod for Scale Patterns: Adds realistic scale textures to your lure bodies.
- Leather Punch Set: Creates precise holes and detailing for various components.
- Rechargeable Airbrush: Offers fine control over paint application for custom designs.
- Airbrush Cleaning Pot: Keeps your airbrush clean and ensures smooth paint flow.
- Helping-Hands Tool: Holds small parts in place while you work, a real lifesaver.
- Sandpaper (240 and 600 grit): Smooth and finish surfaces, varying textures for different stages.
- Junior Hacksaw Blade: Cuts through wood and plastic with ease for shaping lure bodies.
- Flat File: Smooths rough edges and fine-tunes the shape of your lures.
- Reciprocating Saw: Powerful and precise for cutting tougher materials.
- Benchtop Sander: Speeds up sanding large surfaces, saving you precious time.
Setting Up Your Workshop
Creating the perfect workspace is an essential step in learning how to make fishing lures. A well-organized and safe environment will enhance productivity and ensure your lures are made with precision and care.
Choosing the Right Workspace
Selecting an appropriate spot for your lure-making activities is crucial. Opt for a ventilated and dedicated area, such as a garage, backyard, or designated workshop. These spaces typically offer sufficient room for all necessary tools and materials. Plus, good ventilation keeps the air clear, especially when you’re working with paints and resins.
Ensuring Proper Lighting
Adequate lighting is a key factor in crafting detailed and high-quality fishing lures. Proper illumination helps in accurately shaping, painting, and assembling your lures. Use a combination of overhead lights and task lighting, such as adjustable desk lamps, to reduce shadows and highlight intricate work.
Organizing Tools for Efficient Workflow
A well-organized workspace significantly boosts efficiency. Arrange your tools in an orderly manner, perhaps using pegboards, toolboxes, or storage bins to keep everything within easy reach. Categorize items by function—for instance, group all cutting tools, painting supplies, and assembly components separately. This structured approach minimizes time spent searching for tools and maximizes your crafting efficiency.
Prioritizing Safety Gear
Safety should never be overlooked when making fishing lures. Essential protective gear includes respirators to filter out harmful fumes from paints and chemicals, leather gloves for handling sharp tools and hot materials, and protective clothing to shield your skin. Always wear eye protection when cutting, sanding, or drilling to prevent injuries.
Arranging a Drying Area
Set up a designated drying area for your painted and sealed lures. This space should be free from dust and debris to ensure a smooth finish. Use racks or hooks to hang your lures, allowing them to dry evenly. Ensure this area is well-ventilated to expedite the drying process and achieve the desired durability in your lure coatings.
By effectively setting up your workshop, you create an environment conducive to producing high-quality fishing lures. This organized, safe, and well-lit space facilitates the entire process from start to finish, allowing you to focus on honing your craft and creating effective and customized lures tailored to your fishing conditions.
In-Depth Guide to Making Your Own Lures
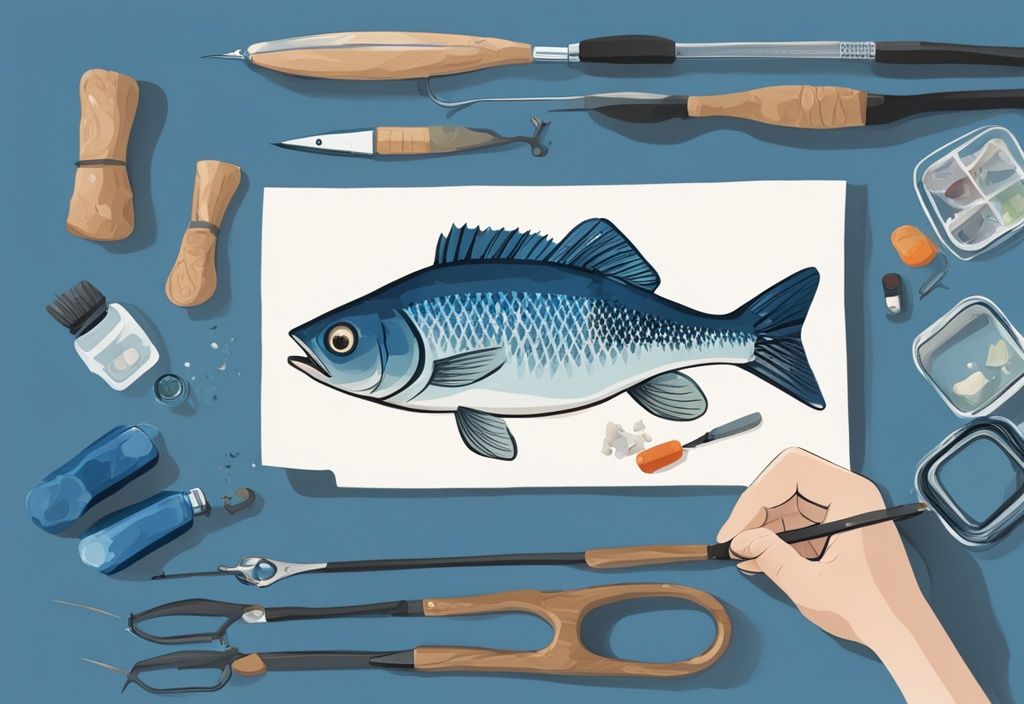
Starting with Proven Designs
When you’re diving into how to make fishing lures, starting with proven designs is a game-changer. These designs have seen action and have been vetted for effectiveness. Begin by replicating simple models like spoons, spinners, or plugs. This isn’t just about copying; it’s about learning the mechanics of each lure type—how they move through water, how they catch a fish’s eye. Once you’ve got the basics down, you can start experimenting. Tweak those elements bit by bit to fit your fishing conditions and target species.
Preparing the Lure Body
Methods for Cutting and Shaping
Creating a well-defined lure body starts with precise cutting and shaping. Grab some balsa sheets or poplar boards and get ready to draw. Templates are your best friends here. Trace accurate shapes and go to work with tools like reciprocating saws or hacksaw blades for those clean cuts. Once you’ve cut out your lure, it’s time to refine. Sandpaper and files are essential to smooth out those rough edges. Achieve those aerodynamic and hydrodynamic profiles that make your lure effective in water.
Sealing Process
Sealing is crucial in preventing water damage to your handmade lures. This step ensures your hard work isn’t washed away. Using Varathane wood sealer, dip your lure body generously, giving it that protective layer. Three to four coats usually do the trick. And hey, don’t rush it—let each coat dry fully. This will not only prolong the life of your lure but also make sure it performs like a champ in all sorts of water conditions.
Weighting and Balancing the Lure
Proper weighting and balancing are key in mastering how to make fishing lures that really work. Start by melting lead sinkers and carefully pouring the molten lead into pre-drilled holes in the lure body. Test its buoyancy by dunking it in water and see how it behaves—does it float, sit, or sink as you want it to? Don’t be afraid to tweak. Adjust the weight distribution and secure it well with strong adhesives. A well-balanced lure can mimic injured prey or dart erratically—whatever gets you that catch.
Lure Painting
Lure painting is where you let your creativity run wild in the process of how to make fishing lures. Start with those base colors using airbrush techniques for a sleek look. Then, go for the details—patterns and designs that mimic real prey. It’s these touches that enhance the lure’s attraction. Seal in your masterpiece with finishes like nitrocellulose lacquer or Rustoleum crystal clear enamel for lasting vibrancy. Experimenting with color combinations can lead to some surprising and effective results, trust me.
Adding Hooks and Final Touches
Attaching hooks and adding final touches is the icing on the cake in how to make fishing lures. Make sure you securely attach split rings and hooks—they need to stand up to the challenge. Adding realistic elements like eyes, lips, or scales can be a game-changer in terms of appeal. Double-check all fittings for alignment and durability. These final details don’t just make your lure look good—they enhance its functionality, making it more enticing to fish.
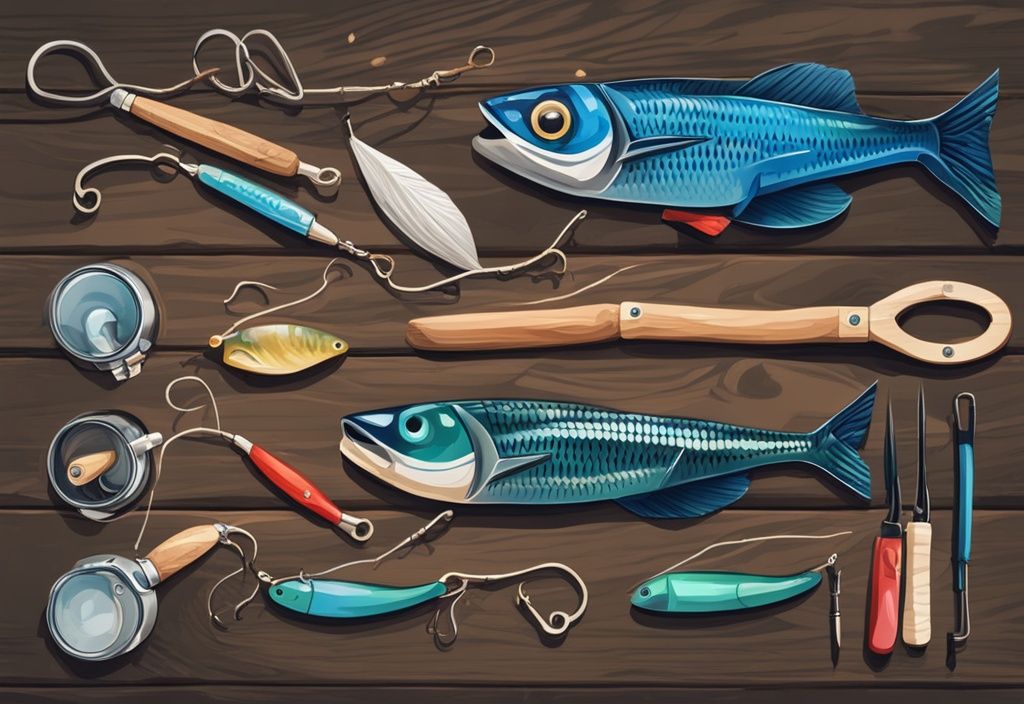
Customizing Your Fishing Lures
Customizing your fishing lures opens up a whole new world of creativity and opportunity. Dive into the subtleties of materials and colors to create personalized baits that entice fish like never before.
Playing with Different Materials
Crafting your own fishing lures is like an art form, giving you a blank canvas to experiment with various materials. Imagine the feel of molding soft plastics into lifelike worms, minnows, or other baitfish. It’s almost like sculpting a masterpiece that’s flexible and natural, making it irresistible to fish.
And let’s not forget about the enduring charm of traditional materials. Balsa and poplar wood are timeless choices, perfect for creating robust bodies for plugs and other hard lures. There’s something magical about the way these woods perform in the water.
Then, there’s the thrill of integrating metals like aluminum and brass. These metals don’t just add weight; they introduce a flashy visual appeal and dynamic movement in the water. Picture a lure with a buoyant wooden body paired with a metallic lip, enhancing realism and diving action. These combinations are where the magic happens, offering endless possibilities to customize and perfect your handmade fishing lures.
Experimenting with Colors and Patterns
One of the most thrilling aspects of making your fishing lures is the ability to play with colors and patterns. Using glitter, dyes, and paints, you can match your lures to the environment and mimic the prey that local fish target. It’s an art and a science.
Think about it: Bright, contrasting colors can provoke aggressive strikes, while subtle, natural tones excel in clear water or when fish are skittish. Taking the time to study local prey species and replicating their patterns can be a game-changer. Stripes, spots, or realistic gradients—each touch adds a layer of believability to your creations.
Using tools like stencils and airbrushes, you can achieve intricate designs that hand-painting just can’t match. Picture a lure shimmering with reflective materials or holographic tape, drawing fish from afar. These detailed touches are what set your lures apart from the store-bought ones.
Fine-tuning the colors and patterns gives you a versatile collection of effective baits tailored to different fishing conditions. This level of customization can transform a regular fishing trip into an exceptional one, giving you the edge you’ve always sought. It’s these personalized touches that make fishing not just a sport, but an art form.
Testing and Evaluating Your Handmade Lures
The evaluation phase is crucial in understanding how to make fishing lures that are effective and reliable. By testing your handmade lures in a controlled water environment, such as a sink or a small pool, you can observe how they perform in terms of buoyancy and swimming action.
Conducting Buoyancy and Action Tests
Ever wonder if your handmade lures will pass the ultimate test? Here’s where the fun begins: testing their buoyancy. Gently place your lure in the water to see if it floats, sinks, or suspends at your desired depth. Adjustments might be on the horizon—imagine crafting a floating lure that stubbornly sinks! You might need to lighten the load by using less weight or perhaps experimenting with lighter materials.
Now, let’s dive into the swimming action. Retrieve the lure slowly and keep an eye on how it dances through the water. Does it wiggle enticingly, or does it saunter straight without much flair? The lip angle, body shape, and weight distribution are your star players here. Tweak the lip angle if you crave more of that irresistible wobbling action.
It’s also important to test the lure at different retrieval speeds. Some lures shine when retrieved slowly, while others come to life with a faster pace. If you can, try to mimic your fishing environment with similar water conditions—this can provide more accurate results.
Don’t forget to document your observations meticulously. Scribble down what’s a hit and what’s a miss. These insights will become your blueprint for refining the lure-making process, ensuring each subsequent lure is better suited to your fishing needs.
Ultimately, testing and evaluating handmade lures is an iterative process. With each test, you’ll gain a deeper understanding of how to make fishing lures that not only look good but also perform exceptionally well. Engage with fellow anglers and share your results for additional feedback and ideas. It’s a community effort, after all. Happy crafting!
Tips for Storing Your Handcrafted Lures
When you’re knee-deep in the excitement of crafting your own fishing lures, it’s easy to overlook an important detail—storing them properly. Trust me, good storage can be the key to making sure your homemade fishing treasures last longer and perform at their best.
Store in a Cool, Dry Place
Picture this: you’ve just nailed the perfect lure and now it needs a home. The environment matters. Keep those bad boys in a cool, dry spot. Moisture is the enemy—it rusts hooks, degrades materials, and messes with the paint job. If you’re considering different types of fishing, understanding the differences between fly fishing and regular fishing can help you decide on the best equipment to protect. Stick to a closet or a dedicated storage room. Skip the damp basements or sweltering attics to keep your lures in top shape.
Use Tackle Boxes with Compartments
Keeping your lures organized is like having your fishing spot all to yourself—it just makes everything better. Tackle boxes with compartments are a game-changer. They let you sort different types and sizes of lures, preventing the dreaded tangle and protecting them from damage. Adjustable dividers? Even better—customize the space to fit your lure collection perfectly.
Keep Away from Direct Sunlight
Direct sunlight can be a real buzzkill for your homemade lures. UV rays break down paint and plastic, making them brittle and less effective. Trust me, you don’t want to see your hard work go to waste. Store your tackle boxes in a shaded area or use opaque storage solutions to keep those harmful rays at bay.
Use Desiccants to Control Moisture
Even in a dry environment, sneaky moisture can still find its way in. That’s where desiccants like silica gel packets come in handy. Toss a few into your tackle boxes to soak up any leftover moisture. Remember to swap them out periodically to keep them working their magic.
Avoid Overcrowding
Overcrowding your tackle box? Big no-no. It leads to tangled lures, bent hooks, and dinged-up finishes. Give each lure some breathing room to maintain their shape and keep them ready for action. Your next fishing trip will thank you.
Label and Rotate Stock
Label your tackle boxes and compartments—trust me, it’s a lifesaver. Quick identification saves time and reduces the risk of losing or damaging a lure. And don’t forget to rotate your stock. Use older lures first to prevent them from collecting dust and deteriorating over time.
Inspect Regularly
Make it a habit to check on your lures, even when they’re not in use. Look out for rust, corrosion, or any wear and tear. Catching issues early means you can repaint or replace hooks before they turn into a bigger problem.
By following these tips, your handcrafted fishing lures will stay in excellent condition, ready to perform whenever you head out to fish. Proper storage is not just about protecting your investment—it’s about maximizing the joy and effectiveness of your custom creations. Tight lines and happy fishing!
Conclusion
Crafting fishing lures can be a highly rewarding and cost-effective hobby. The journey of learning how to make fishing lures offers numerous advantages, from the excitement of creative expression to the practical benefit of tailoring lures to match specific fishing conditions. This skill not only provides the thrill of customizing your gear but also fosters a deeper understanding of angling techniques and fish behavior.
By mastering how to make fishing lures, you equip yourself with the ability to produce durable and effective tools. Customization becomes second nature as you experiment with different materials like wood, soft plastics, and metals, giving life to unique creations designed to attract local fish species. The transition from store-bought to homemade lures can lead to significant cost savings over time, making your angling hobby more sustainable and affordable.
Moreover, crafting your own lures promotes environmental consciousness by allowing you to recycle and repurpose materials. This not only benefits the ecosystem but also adds to the personal satisfaction derived from the hobby. There’s an undeniable sense of accomplishment in catching a fish with a lure fashioned by your own hands, an achievement that brings you closer to the art and science of fishing.
Finally, the knowledge and skills gained through this process extend beyond the practicalities of lure making. They enrich your overall fishing experience and enhance your connection to the angling community. Sharing your handmade lures with fellow anglers fosters camaraderie and inspires others to delve into the practice of how to make fishing lures, thus spreading the joy and fulfillment this hobby can bring.
So, dive into the world of crafting fishing lures, experiment with designs and materials, and take pride in your creations. Embrace the challenges and rewards that come with this engaging pastime, and relish the moments when your handcrafted lure wins the battle against a spirited fish.
Commonly Asked Questions About Making Fishing Lures
What are the best materials to use for creating fishing lures?
When it comes to assembling your own fishing lures, the materials you pick play a huge role. Think along the lines of balsa wood, poplar boards, soft plastics, aluminum foil, and lead sinkers. Each of these materials brings its own unique set of properties to the table, giving you a diverse toolkit for how to make fishing lures that dance and dart in the water just the way you want.
Can I manufacture fishing lures without an airbrush?
Absolutely, and this is where the DIY spirit truly shines. Hand-painting with brushes or using spray paints are great alternatives. Sure, an airbrush might give you finer control over those detailed patterns and vibrant colors, but these other methods still let you create eye-catching designs. It’s all part of the creative journey in learning how to make fishing lures.
How do I ensure my lure swims correctly?
This is a crucial aspect and it all starts with following tried-and-true designs. Understanding the mechanics, getting the balance right, and properly weighting your lure are key steps. Don’t forget to tweak that bill angle. Finally, nothing beats real-world testing; toss that lure in the water and fine-tune until it mimics the swim patterns you’re after. That’s the beauty of perfecting your technique in how to make fishing lures.
What are the approx costs for crafting fishing lures at home?
Starting up will set you back between $50 and $200, covering tools and materials. Once you’re set up, the ongoing costs are mostly low, especially compared to buying commercial lures. Think of it as an investment in your own mastery of how to make fishing lures. Plus, there’s nothing quite like catching a fish on a lure you crafted yourself.
What safety measures should I take when crafting homemade lures?
Safety first, always. Equip yourself with a respirator, gloves, and some sturdy protective clothing. Keep your workspace well-ventilated, particularly when dealing with paints and resins. Be careful handling sharp tools and any toxic substances. These precautions ensure you can focus on the joy of mastering how to make fishing lures without unwanted incidents.