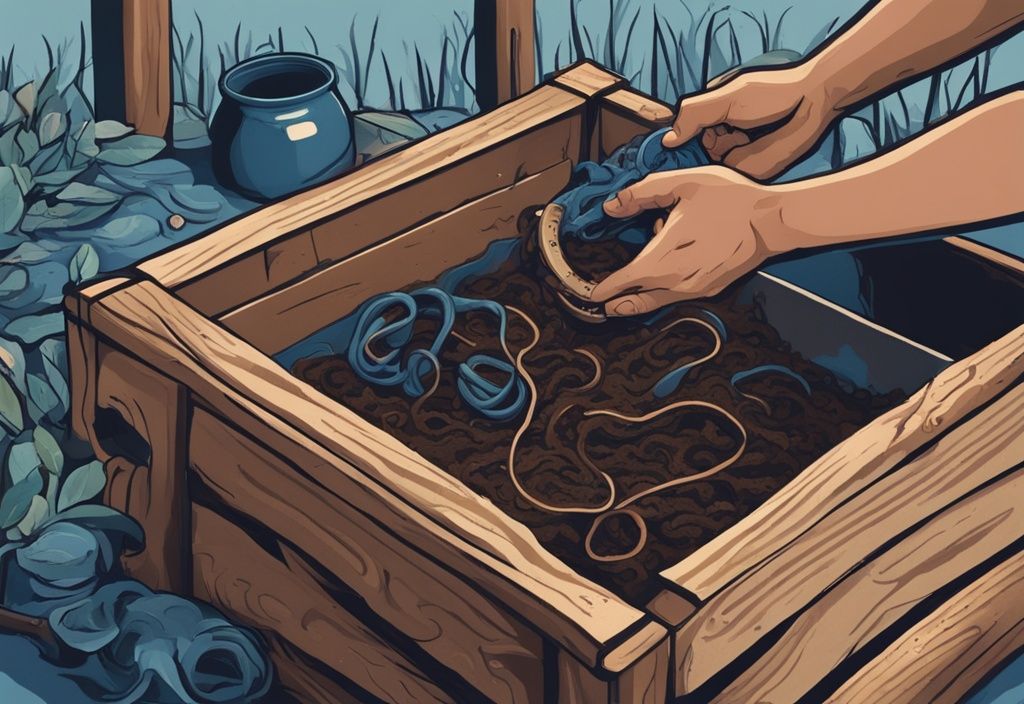
Who needs a store when you can have a treasure trove of pristine bait wriggling right in your backyard? If you’re a true fishing enthusiast like me, Jake Marlin, then you’ll know the peace of mind that comes with always having robust, ready-to-bite worms. Let me help you tap into that luxury, it’s simpler than you’d believe!
This is your comprehensive guide to raising the perfect worms for fishing. Dive headfirst into the enthralling world of worm farming, from recognizing different species to constructing your habitat to the crucial know-how of maintaining a thriving population. The bait shop’s got nothing on this!
Imagine the satisfaction of fishing with worms you’ve nurtured yourself, while simultaneously contributing to an environmentally friendly cycle turning organic waste into nutrient-rich compost. Ready to elevate your angling game and dig into the wonderful world of worm farming? Let’s jump in!
Understanding Fishing Worms
When it comes to fishing, the bait you choose can significantly affect your success. There are several types of bait worms to consider, each with its own advantages and peculiarities. Let’s dive into what makes each of these worms unique and how they can improve your fishing experience.
Differences Between Common Bait Worms
Mealworms
Mealworms are an excellent choice for anglers due to their versatility as bait. They can be kept alive for up to 9 months if maintained under ideal conditions. To keep them from maturing into Darkling Beetles, it’s crucial to store them in a cold environment. Establishing a mealworm farm is straightforward; you can start by ordering live mealworms and following simple setup instructions.
Knowing how to raise worms for fishing can significantly improve your bait supply, ensuring you always have fresh, active bait on hand. Imagine having your little farm on the side, ready to provide at the drop of a hat—no more last-minute dashes to the bait shop!
European Night Crawlers
European Night Crawlers are highly favored for their size and durability, making them ideal for catching larger fish and for ice fishing. They are relatively easy to cultivate and adapt well to varying environmental conditions.
Because of their robust nature, they have become popular among anglers. Discovering the nuances of how to raise worms for fishing can help you maintain a steady stock of these worms, making each fishing trip more successful. Before you head out, it’s essential to familiarize yourself with the Gulf Shores beach fishing rules to ensure a compliant and enjoyable experience. Think of the possibilities—your bait bucket always stocked and ready for that next big catch.
Red Worms
Red Worms are particularly effective for catching a variety of panfish. They also double as excellent worms for vermicomposting, thriving in rich, organic soil without needing specialized conditions.
Their proficiency in both fishing and composting makes them a valuable addition to any angler’s toolkit. Learning how to raise worms for fishing will provide a consistent supply of Red Worms, enhancing your bait options and contributing to a sustainable lifestyle. Imagine the dual benefits: catching fish and creating compost for your garden—all thanks to one hardworking worm!
Setting Up Your Own Worm Farm
Raising worms for fishing is a rewarding endeavor that transforms your fishing trips by ensuring you always have the best bait on hand. This guide will walk you through the essential steps to set up an effective worm farm.
Step-by-Step Guide to Preparing the Worm Bin
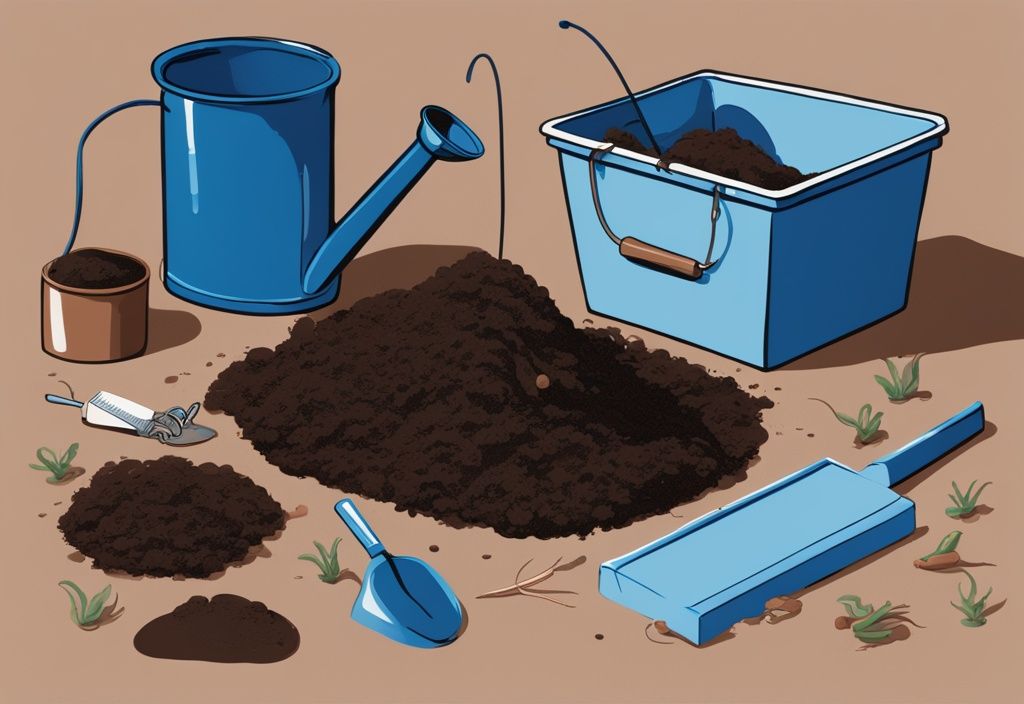
Choosing the Right Container
To kickstart your journey on how to raise worms for fishing, selecting the right container is pivotal. Whether you choose to build a worm bin yourself or purchase one, make sure it has air holes, drainage holes, and a lid. Ideal containers are typically made of plastic or foam with tight-fitting lids; these materials retain moisture well and keep worms from escaping. An opaque container is best, as worms thrive in darkness.
Preparing and Moistening the Bedding
The next crucial step in how to raise worms for fishing is preparing the bedding. Begin by tearing newsprint, printer paper, or thin cardboard into small pieces and spreading them evenly on the bottom of your bin. Add suitable bedding materials like pure peat moss, shredded newspaper, or a combination of both. Moisten the bedding until it feels like a wrung-out sponge—damp but not soggy. Gradually add water to avoid standing water, which can be harmful to worms.
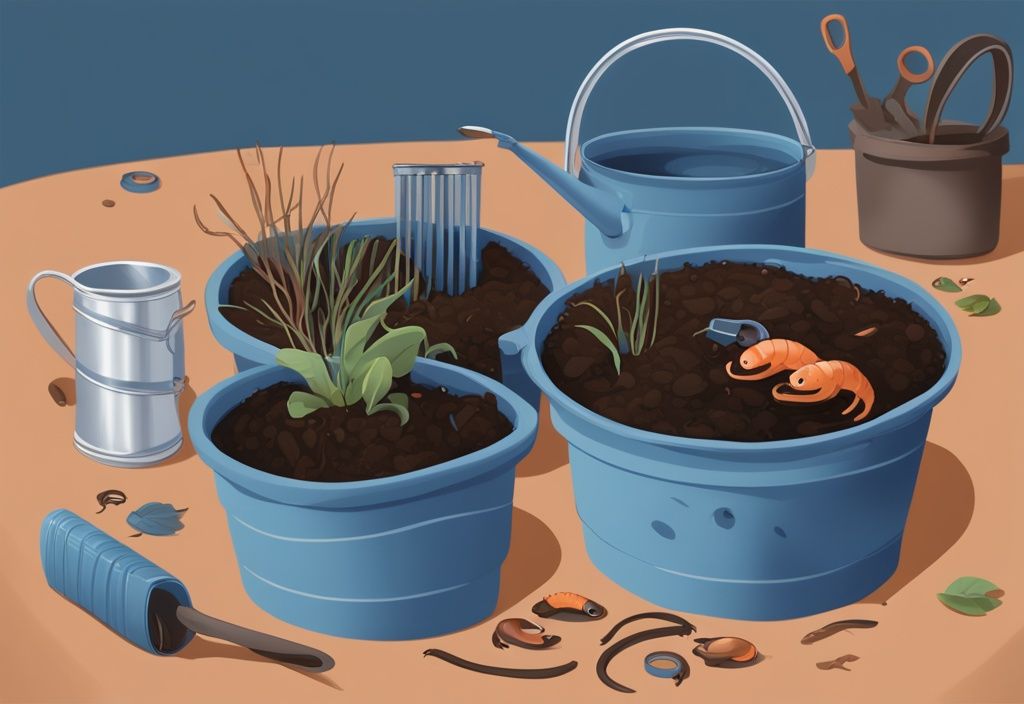
Adding Optimal Soil and Compost Materials
Once the bedding is set, it’s time to enrich it with soil and compost materials to create a nutrient-rich environment for your worms. Add several inches of soil, potting mix, or composted manure, ensuring you break up any large clumps. This will provide essential nutrients for the worms to thrive. Incorporating compost materials like vegetable scraps and coffee grounds will further enhance soil fertility over time.
Effectively Introducing Worms to Your Bin
The final step in setting up your worm farm is introducing the worms to your prepared bin. Gently spread the worms across the soil and bedding, letting them burrow in naturally. To help your worms settle without escaping, leave a light source on for the first night—the light encourages them to burrow deeper. After the first night, keep the worm bin in a dark place to maintain the ideal environment for your worms, making it easier to retrieve them when needed for your fishing adventures.
Worm Care: Maintaining the Perfect Environment
Maintaining the right conditions in your worm bin can spell the difference between a thriving worm population and a lackluster bunch. From light to temperature to oxygen levels, it’s all about getting the balance just right for raising those squirmy little fishing bait pros.
Managing Light, Temperature, and Oxygen Levels
For starters, you’ll need to keep an eye on the temperature. The sweet spot lies between 50°F and 80°F (10°C to 27°C). Anything outside this range can stress your worms, making them less energetic and less effective as bait. Strategically placing your worm bin in areas like shady outdoor spots, garages, basements, or screened-in porches helps keep things stable. While you’re at it, don’t forget about oxygen. Regularly fluff the bedding to avoid compaction, which restricts airflow and creates a stifling environment. An oxygen-rich setup ensures your worms are not just surviving but thriving, ready to wiggle on a hook anytime.
What & How Often to Feed the Worms
Recommended Food for Your Worms
Feeding your worms responsibly is another cornerstone of raising worms for fishing. Aim to feed them about two to three times a week. Stick to a balanced ratio—one part food to two parts worms. It’s like Goldilocks’ porridge; you don’t want to overload or starve them. Ideal food includes vegetable and fruit scraps, coffee grounds, eggshells, untreated lawn clippings, and shredded natural fibers. These organic goodies provide the nutrients your worms need to grow robust and multiply, making them more effective on your next fishing trip.
What to Avoid Feeding Your Worms
Knowing what not to feed your worms is just as important. Steer clear of meats, dairy products, oils, grains, pet droppings, and spicy food scraps. These items can foul up your worm bin, creating unpleasant odors and even diseases. Stick to the recommended organic materials, and you’ll maintain a healthy environment where your worms can flourish, becoming the high-quality bait you need.
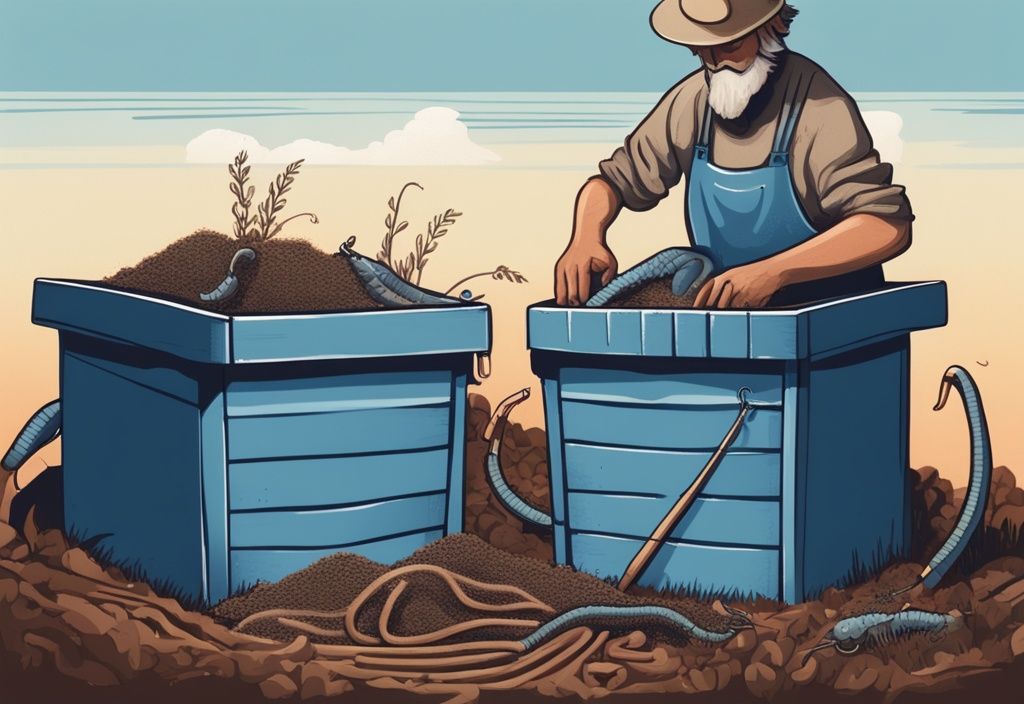
Harvesting Worms and Worm Castings
Raising worms for fishing is more than just a hobby—it’s an adventure that keeps on giving. You’ll harvest not just bait, but also garden gold in the form of worm castings.
How to Safely Harvest Worms for Fishing
Knowing how to raise worms for fishing includes safely harvesting them from your worm bin. To begin, encourage the worms to migrate by placing decomposed food on one side of the bed. This method lures worms to the food-rich area, making them easier to collect.
Once the worms congregate, scoop out the soil from this concentrated area. After harvesting, replenish the depleted area with fresh soil and shredded paper to maintain a healthy environment for the remaining worms. This practice ensures a sustainable cycle for raising worms for fishing.
Tips for Storing Your Harvested Worms
Proper storage is crucial when learning how to raise worms for fishing. Start by placing harvested worms into a separate container filled with damp peat moss. This material retains moisture without becoming waterlogged, providing an optimal environment for the worms.
It’s essential to keep the stored worms at a temperature between 50°F and 80°F (10°C to 27°C) to prolong their viability. Regularly monitor the peat moss to ensure it remains moist and adjust as necessary.
Ideal storage conditions will keep your worms healthy and ready for your next fishing trip.
Utilizing Worm Castings in Your Garden
Utilizing worm castings is a significant benefit when you know how to raise worms for fishing. Every 3 to 6 months, harvest the worm castings, which are rich in nutrients and excellent for gardening.
Spread these castings across your garden to enrich the soil, promoting healthy plant growth and robust yields. Incorporating worm castings into your gardening routine not only enhances plant health but also aligns with sustainable practices, offering a dual benefit of high-quality fishing bait and fertile compost for your garden.
Solving Common Worm Farming Problems
When it comes to worm farming, especially for fishing bait, tackling common problems head-on can make all the difference. From low casting production to pest control, here’s how to ensure your worms stay happy and productive.
Addressing Low Worm Casting Production
Low worm casting production can really throw a wrench in your fishing prep. If you’re seeing fewer castings, it’s likely your worms are a tad unhappy. Think of their environment as their little wormy paradise. An essential part of learning how to raise worms for fishing is making sure they have the right food. Insufficient or inappropriate food could be the culprit. Try mixing up their diet—more variety, more fun. Keep a close eye on your food-to-worm ratio; a good rule of thumb is one part food to two parts worms.
Temperature plays a huge role too. Aim to keep it between 50°F and 80°F (10°C to 27°C). Too cold or too hot, and your worms might go on strike, leading to a noticeable drop in casting production. Ever tried fishing without bait? Not as enjoyable, trust me.
Managing Unpleasant Odors
There’s nothing nastier than a smelly worm bin, especially when you’re figuring out how to raise worms for fishing. A well-kept bin should be pretty odor-neutral. Most bad smells come from rotten bedding and decomposing food. Sound familiar?
Don’t let your worms wallow in muck—regularly change out any bedding that starts to rot. Also, watch your feeding habits. Overfeeding is a rookie mistake that turns uneaten food into a smell fest. Moisture control is key too. Your bin should feel like a wrung-out sponge—damp but not dripping. That’s the sweet spot where bad smells don’t stand a chance.
Preventing Protein Poisoning in Worms
Protein poisoning—sounds scary, right? It happens when worms chow down on too much protein-rich food, creating toxic conditions in the bin. Another snag in the journey of how to raise worms for fishing. But don’t fret. Here’s the lowdown on preventing it.
If you suspect protein poisoning, cut off the protein-rich grub immediately. Add some dry bedding to soak up excess moisture and neutralize toxins. Toss in some crushed eggshells, which act like a detox spa for your worms. Regularly check the balance of their diet to keep this nasty problem at bay. Your worms will thank you!
Effective Pest Control Methods
Pests can be a real thorn in your side, but mastering effective pest control is crucial when raising worms for fishing. Flies, mites, and other pests can quickly turn a thriving worm farm into a nightmare.
Flies: Use mosquito netting over your bin. It lets air flow but keeps flies out. Simple and effective.
White Mites: A bit of drying out can reduce their population. Adding diatomaceous earth to your bedding is another handy trick. It’s all about creating an environment that pests don’t like but your worms do.
Make regular inspections a habit. Spotting a pest problem early makes it easier to keep your worm bin healthy and their environment pest-free. The worms will stay content, and you’ll stay ready for your next big catch.
Long-term Worm Farming Tips
Regular Check-Ups: Key to a Healthy Worm Bin
Ensuring the health and productivity of your worm farm is crucial when learning how to raise worms for fishing. Regular check-ups are a cornerstone of successful worm farming. Begin by frequently monitoring the moisture levels in your worm bin. The bedding should always be damp, resembling the feel of a wrung-out sponge, which ensures worms are comfortable and active. When the bedding appears dry, add water to restore adequate moisture, but be cautious to avoid waterlogging, as overly wet conditions can harm the worms.
Periodically, it’s essential to replace the bedding. Over time, bedding material becomes soiled and compacted, which can hinder oxygen flow and create an unsanitary environment. Refreshing the bedding will provide a clean, aerated space for worms to thrive. This consistency in maintenance not only fosters a healthy habitat for worms but also increases their efficiency in producing both bait and compost.
Ensuring Sustainable Worm Farming
To sustain a thriving worm farm and truly master how to raise worms for fishing, consistent maintenance and monitoring are vital. Regularly inspecting the worm bin allows you to address issues promptly, maintaining a stable environment where worms can breed and grow efficiently. Make it a habit to check for any signs of distress such as odors, pests, or abnormal worm behavior.
Maintaining a worm farm can significantly reduce costs associated with purchasing bait, while also providing high-quality compost to enhance your gardening endeavors. Sustainable practices, such as using kitchen scraps and other organic waste to feed the worms, not only support the worms but also contribute to an eco-friendly lifestyle. Staying attentive to the needs of your worm farm ensures its longevity and productivity, culminating in a reliable source of fishing bait and valuable compost. This blend of benefits highlights the efficiency and sustainability of raising worms at home, making it an invaluable practice for both fishing enthusiasts and gardeners alike.
FAQ: Answers to Your Worm Farming Questions
Let’s dive into some common questions that come up when you’re figuring out how to raise worms for fishing. Whether you’re a newbie or a seasoned worm handler, these tips should make your worm farming journey a little smoother.
Which Worms Are Best for Fishing?
Choosing the best worms for fishing really boils down to the type of fish you’re after and your fishing conditions. Mealworms are like the Swiss Army knife of bait—versatile and long-lasting. European Night Crawlers are perfect if you’re aiming for larger fish or planning to tackle ice fishing, thanks to their beefy size and durability. And if you’re after panfish, Red Worms (also known as Red Wigglers) are your go-to. They’re small, squirmy, and super easy to raise.
How Often Should I Feed the Worms?
Aim to feed your worms about two to three times a week. Keep a ratio of one part food to two parts worms. This timing keeps your wriggly pals well-fed but not overstuffed, which can cause odors and other messes. Bury the food under the bedding to keep pests at bay. Picture it like tucking them into a cozy bed of nutrients.
What Foods Should I Avoid Giving to the Worms?
Steer clear of meats, dairy, oils, grains, pet droppings, and spicy food scraps. These can cause foul odors, draw in pests, and throw off your worm bin’s balance. Stick to veggie and fruit scraps, coffee grounds, eggshells, untreated lawn clippings, and shredded natural fibers. Think of it as a plant-based diet for your worms.
How Can I Control Pests in My Worm Bin?
Pests can be a real headache. Cover the bin with mosquito netting to keep flies out. Got white mites? Try drying out the bin a little and sprinkle in some diatomaceous earth to keep their numbers down. Keep an eye on your bin and remove unwanted guests promptly. A healthy, pest-free environment makes for happy worms.
How Do I Keep My Worms from Escaping?
Worried about a worm jailbreak? Leave a light on during the first night to encourage your worms to burrow rather than escape. Make sure your bin’s lid is secure but ventilated, and that there’s proper drainage. The bedding should be moist—just right, not too wet. Keep conditions comfortable, and your worms will be content to stay put.
Conclusion
Raising worms for fishing provides a sustainable and cost-effective method to ensure you have a continuous supply of high-quality bait. By following the appropriate setup, care, and maintenance techniques, you can cultivate healthy and productive worm colonies.
A properly established worm farm doesn’t just yield worms for bait; it also produces rich compost, which is fantastic for your garden. Think of it as a two-for-one deal! Start by choosing the right worm species. Mealworms, European Night Crawlers, or Red Worms each cater to different fishing needs, so pick the one that suits you best.
Creating the right environment for your worms is absolutely crucial for their survival and productivity. Make sure your worm bin has excellent ventilation, proper drainage, and is kept in a temperature-controlled environment. It might sound like a lot, but it’s absolutely worth it!
Keeping things optimal is really a balancing act. You’ll need to manage moisture levels, provide just the right amount of food, and dodge the temptation to overfeed. Regular checks on the bin ensure your worms stay happy, breed well, and continue to supply you with bait. And hey, tackle those common issues like funky odors or unwelcome pests ASAP to keep your worm farm running like a well-oiled machine.
Follow these guidelines, and you’ll be well on your way to successfully raising worms for fishing. Not only will your fishing adventures benefit, but your garden will get a nice boost too. With a bit of effort and regular upkeep, your worm farm will contribute to a sustainable and productive fishing experience, saving you money and enhancing your overall success.